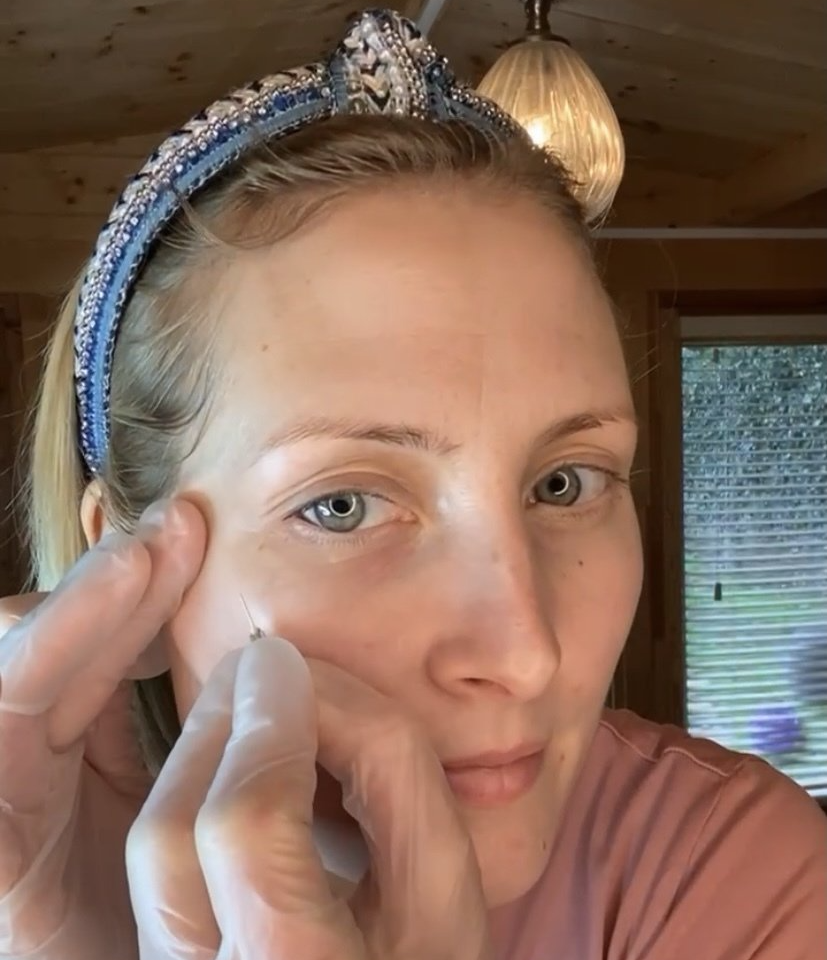
Firstly, during lockdown and when unable to have a professional facial, don’t try to extract/pick them as tempting as it can be, they don’t shift easily, especially not this way and you could end up causing more harm than good! They are super stubborn and the only way to get them out is through the use of a very fine, micro lance to create a little opening, before gently extracting the keratinised cells that have built up into this little white bump. It is a very satisfying process for us therapists when the milia is ‘fully ready’ to shift, as they literally just glide out!! Some can be fairly decent in size, very much like a tiny cyst, but others can be much flatter/smaller and this is where good skincare can help in prep for professional milia removal.
Tackling and Treating Milia
A guide to treating Milia.
Hello friends! I wanted to share a little on Milia; what they are, how to prevent them, how to soften them at home and also a few techniques I use in treatment to help get rid of them! Milia are those little white pearly bumps that can appear on the surface of your skin. It is a really popular skin query I get in the cabin and something I definitely can be prone to; mainly down to having a naturally drier skin type myself.
They’re fairly common around the orbital bone/upper cheek area but can occur anywhere on the face. They are quite literally a build-up of keratinised cells trapped between the upper layers of the skin.
They can be hereditary, but also can be a result of a sluggish cell turnover of the skin and dehydration, so this is where a good, consistent skincare routine at home can play a key role. A naturally drier skin type can be prone to them (but all skin types can get them), they can develop where glasses (and PPE) sit and compress against the skin or even on the side of the cheek on which you rest on whilst you sleep. They too can be linked with the use of a product/s that are too rich/heavy for the area of skin where you’re getting them.
Some Milia can just disperse and dislodge naturally, over time, without the need for extraction, after following some specific techniques with the right product choices and tweaks to your current skincare routine (which may be the cause of their arrival in the first place!)
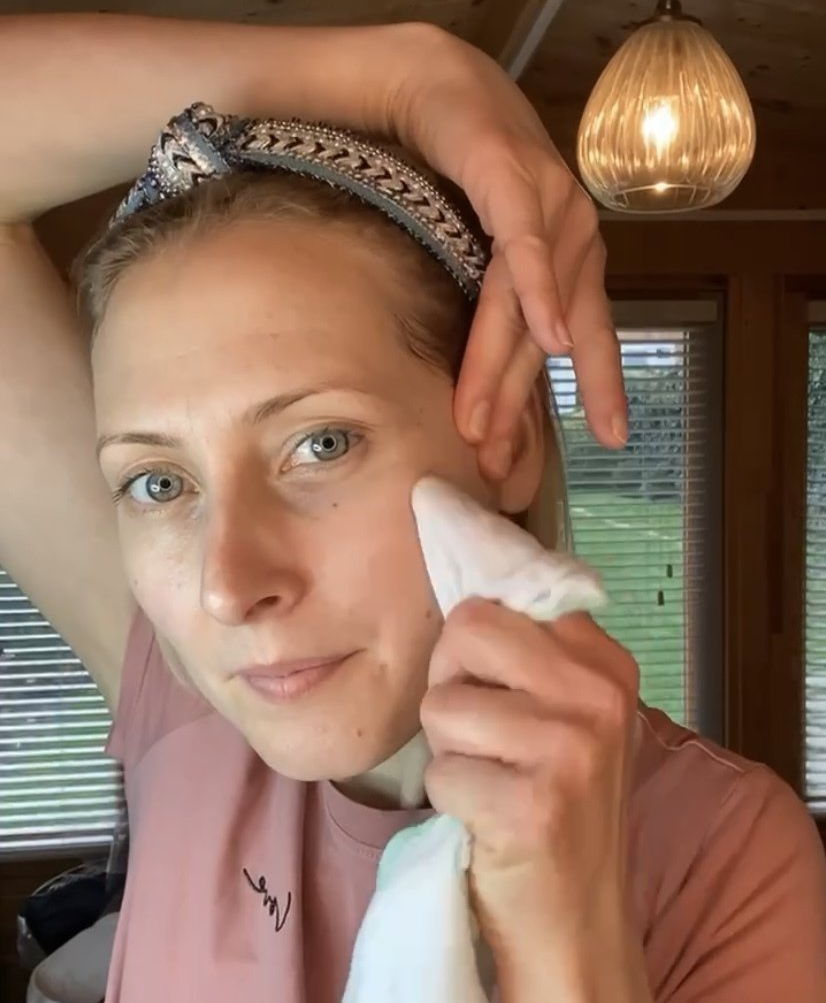
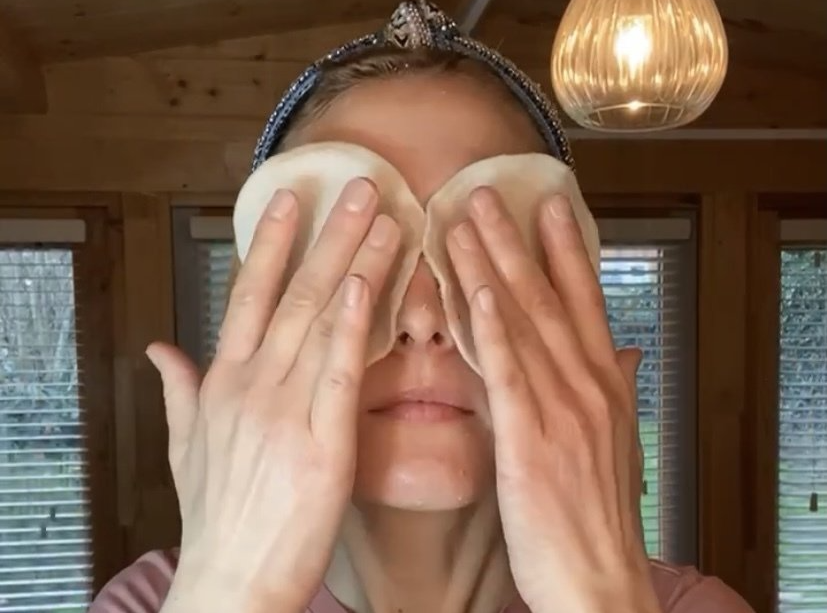
Keeping the skin as hydrated as possible is key so that the skin and the milia itself is soft and more pliable, literally!! So gentle cleansing ideally with a cream based cleanser works really well. Do this consistently both morning and evening, and then with a buffing cloth/flannel perform small circular movements over the area where the milia are building up. That way you are providing your skin with a daily gentle dislodging effect of the mature surface cells ready to shed whilst not compromising on your skin’s natural Ph and barrier function.
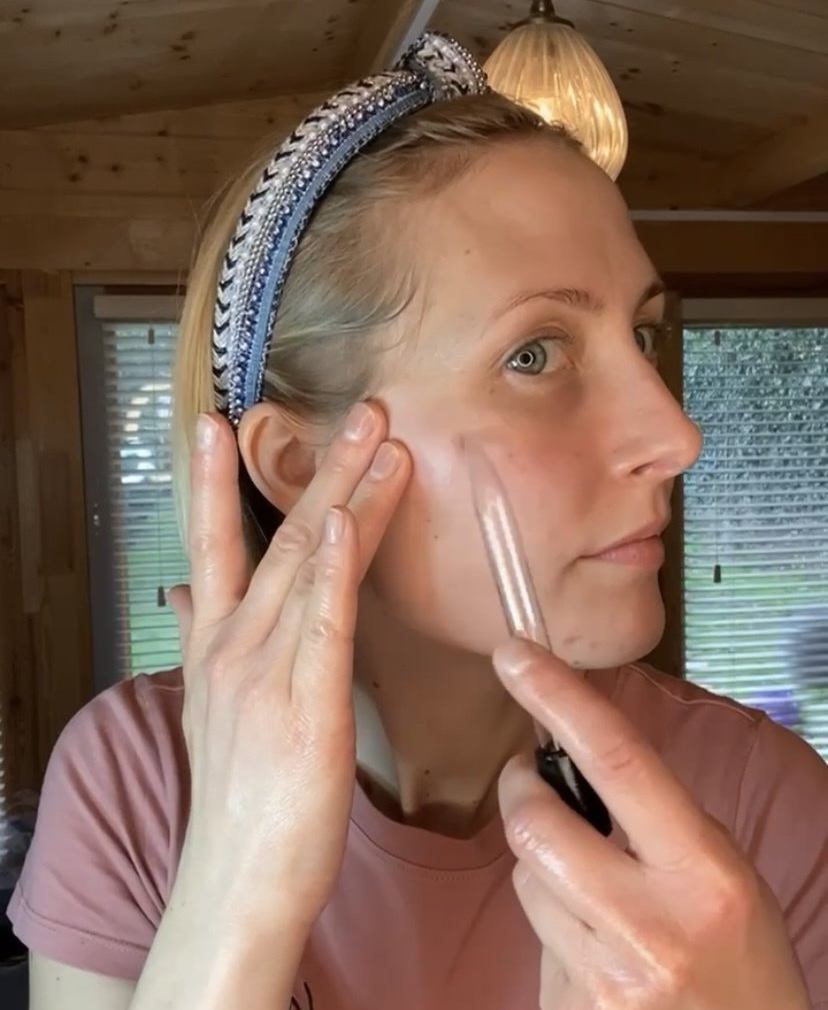
Follow this with plenty of daily surface hydration too-I love a skin tonic- it is simply weightless hydration for your skin and will continue to help ‘loosen’ the milia. This sits just underneath your moisturiser. Avoid any alcohols in the tonic. Aim to do this morning and evening, after you’ve cleansed.
Exfoliate your skin between 1 and 3 times per week depending on your skin and the exfoliator you’re using. This will re-enforce the effects of your daily buffing cleanse but with a bit more power! A healthy and active cell turnover of the skin is absolutely vital to prevent further keratinised cells becoming trapped and building within the upper layers of the skin, developing into a milia.
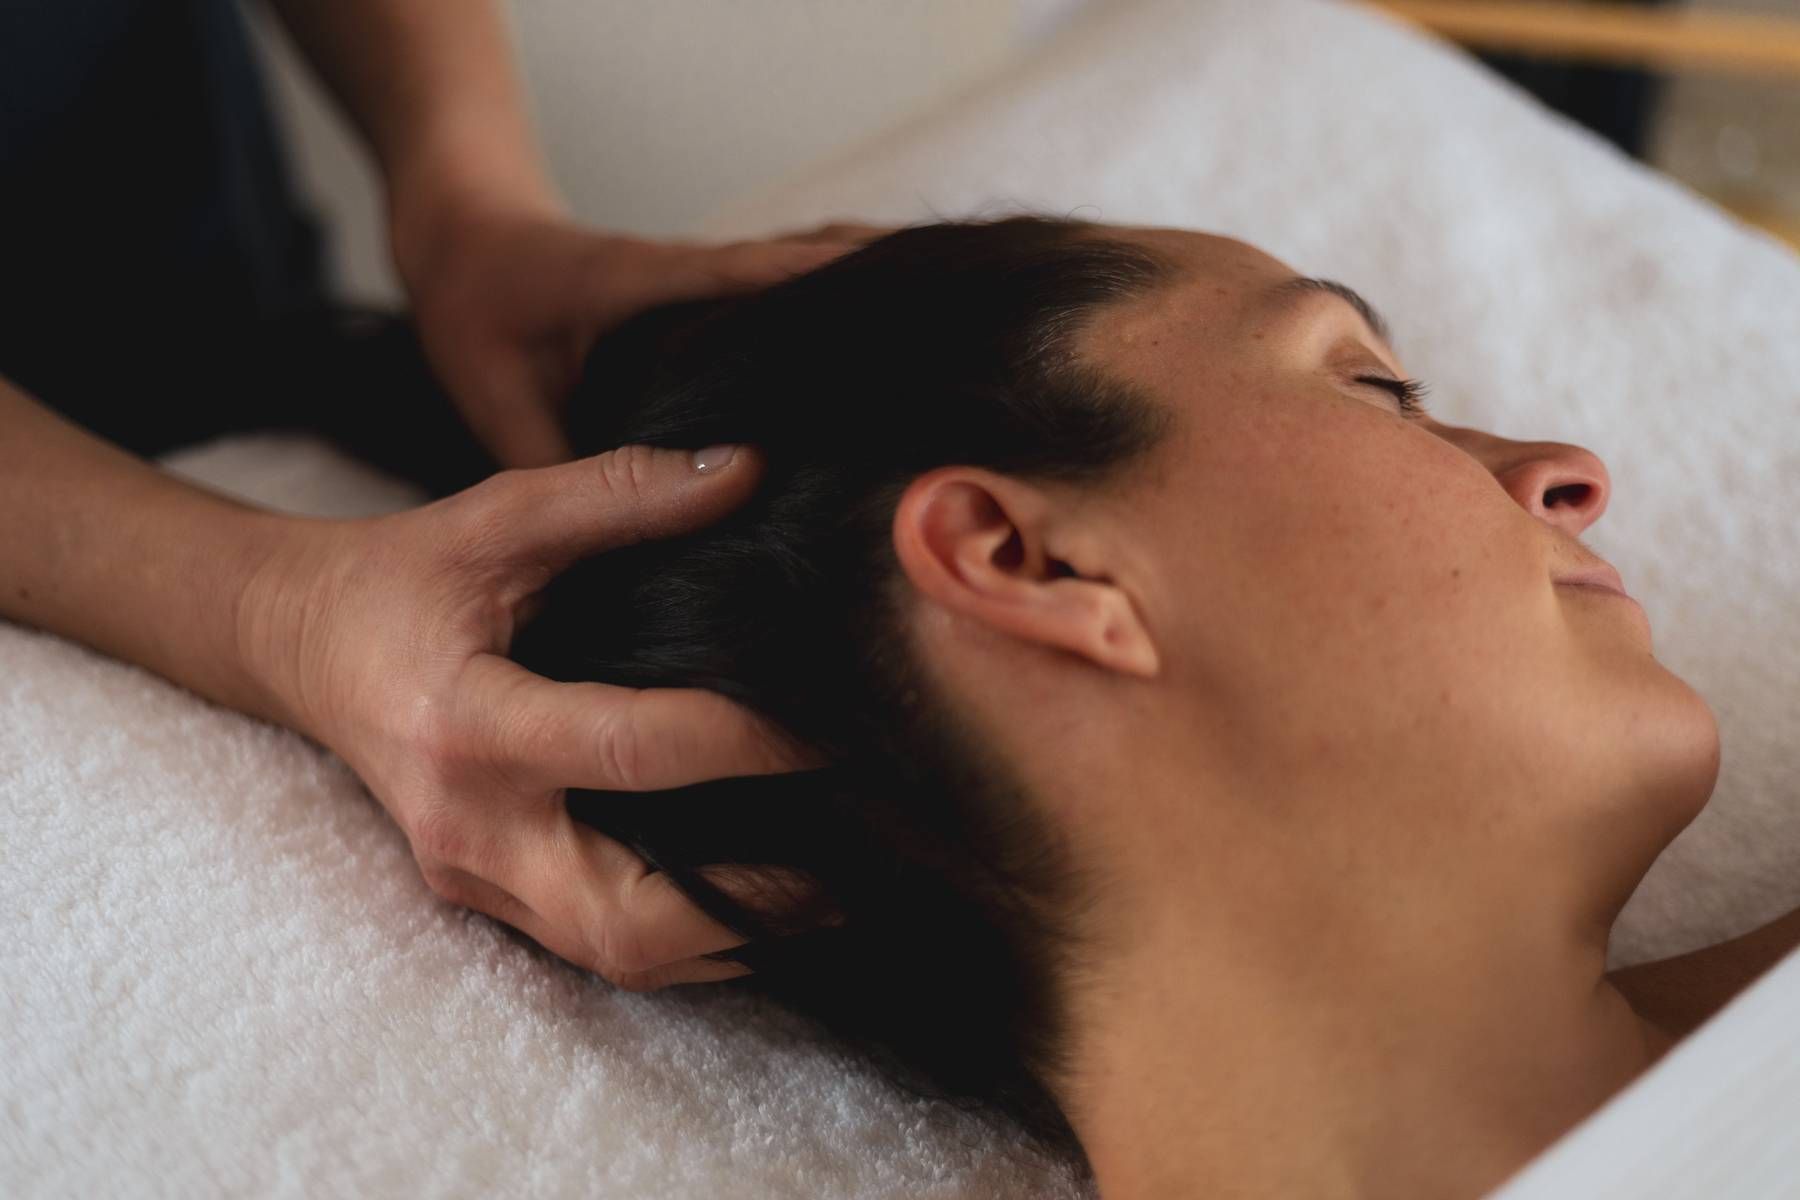
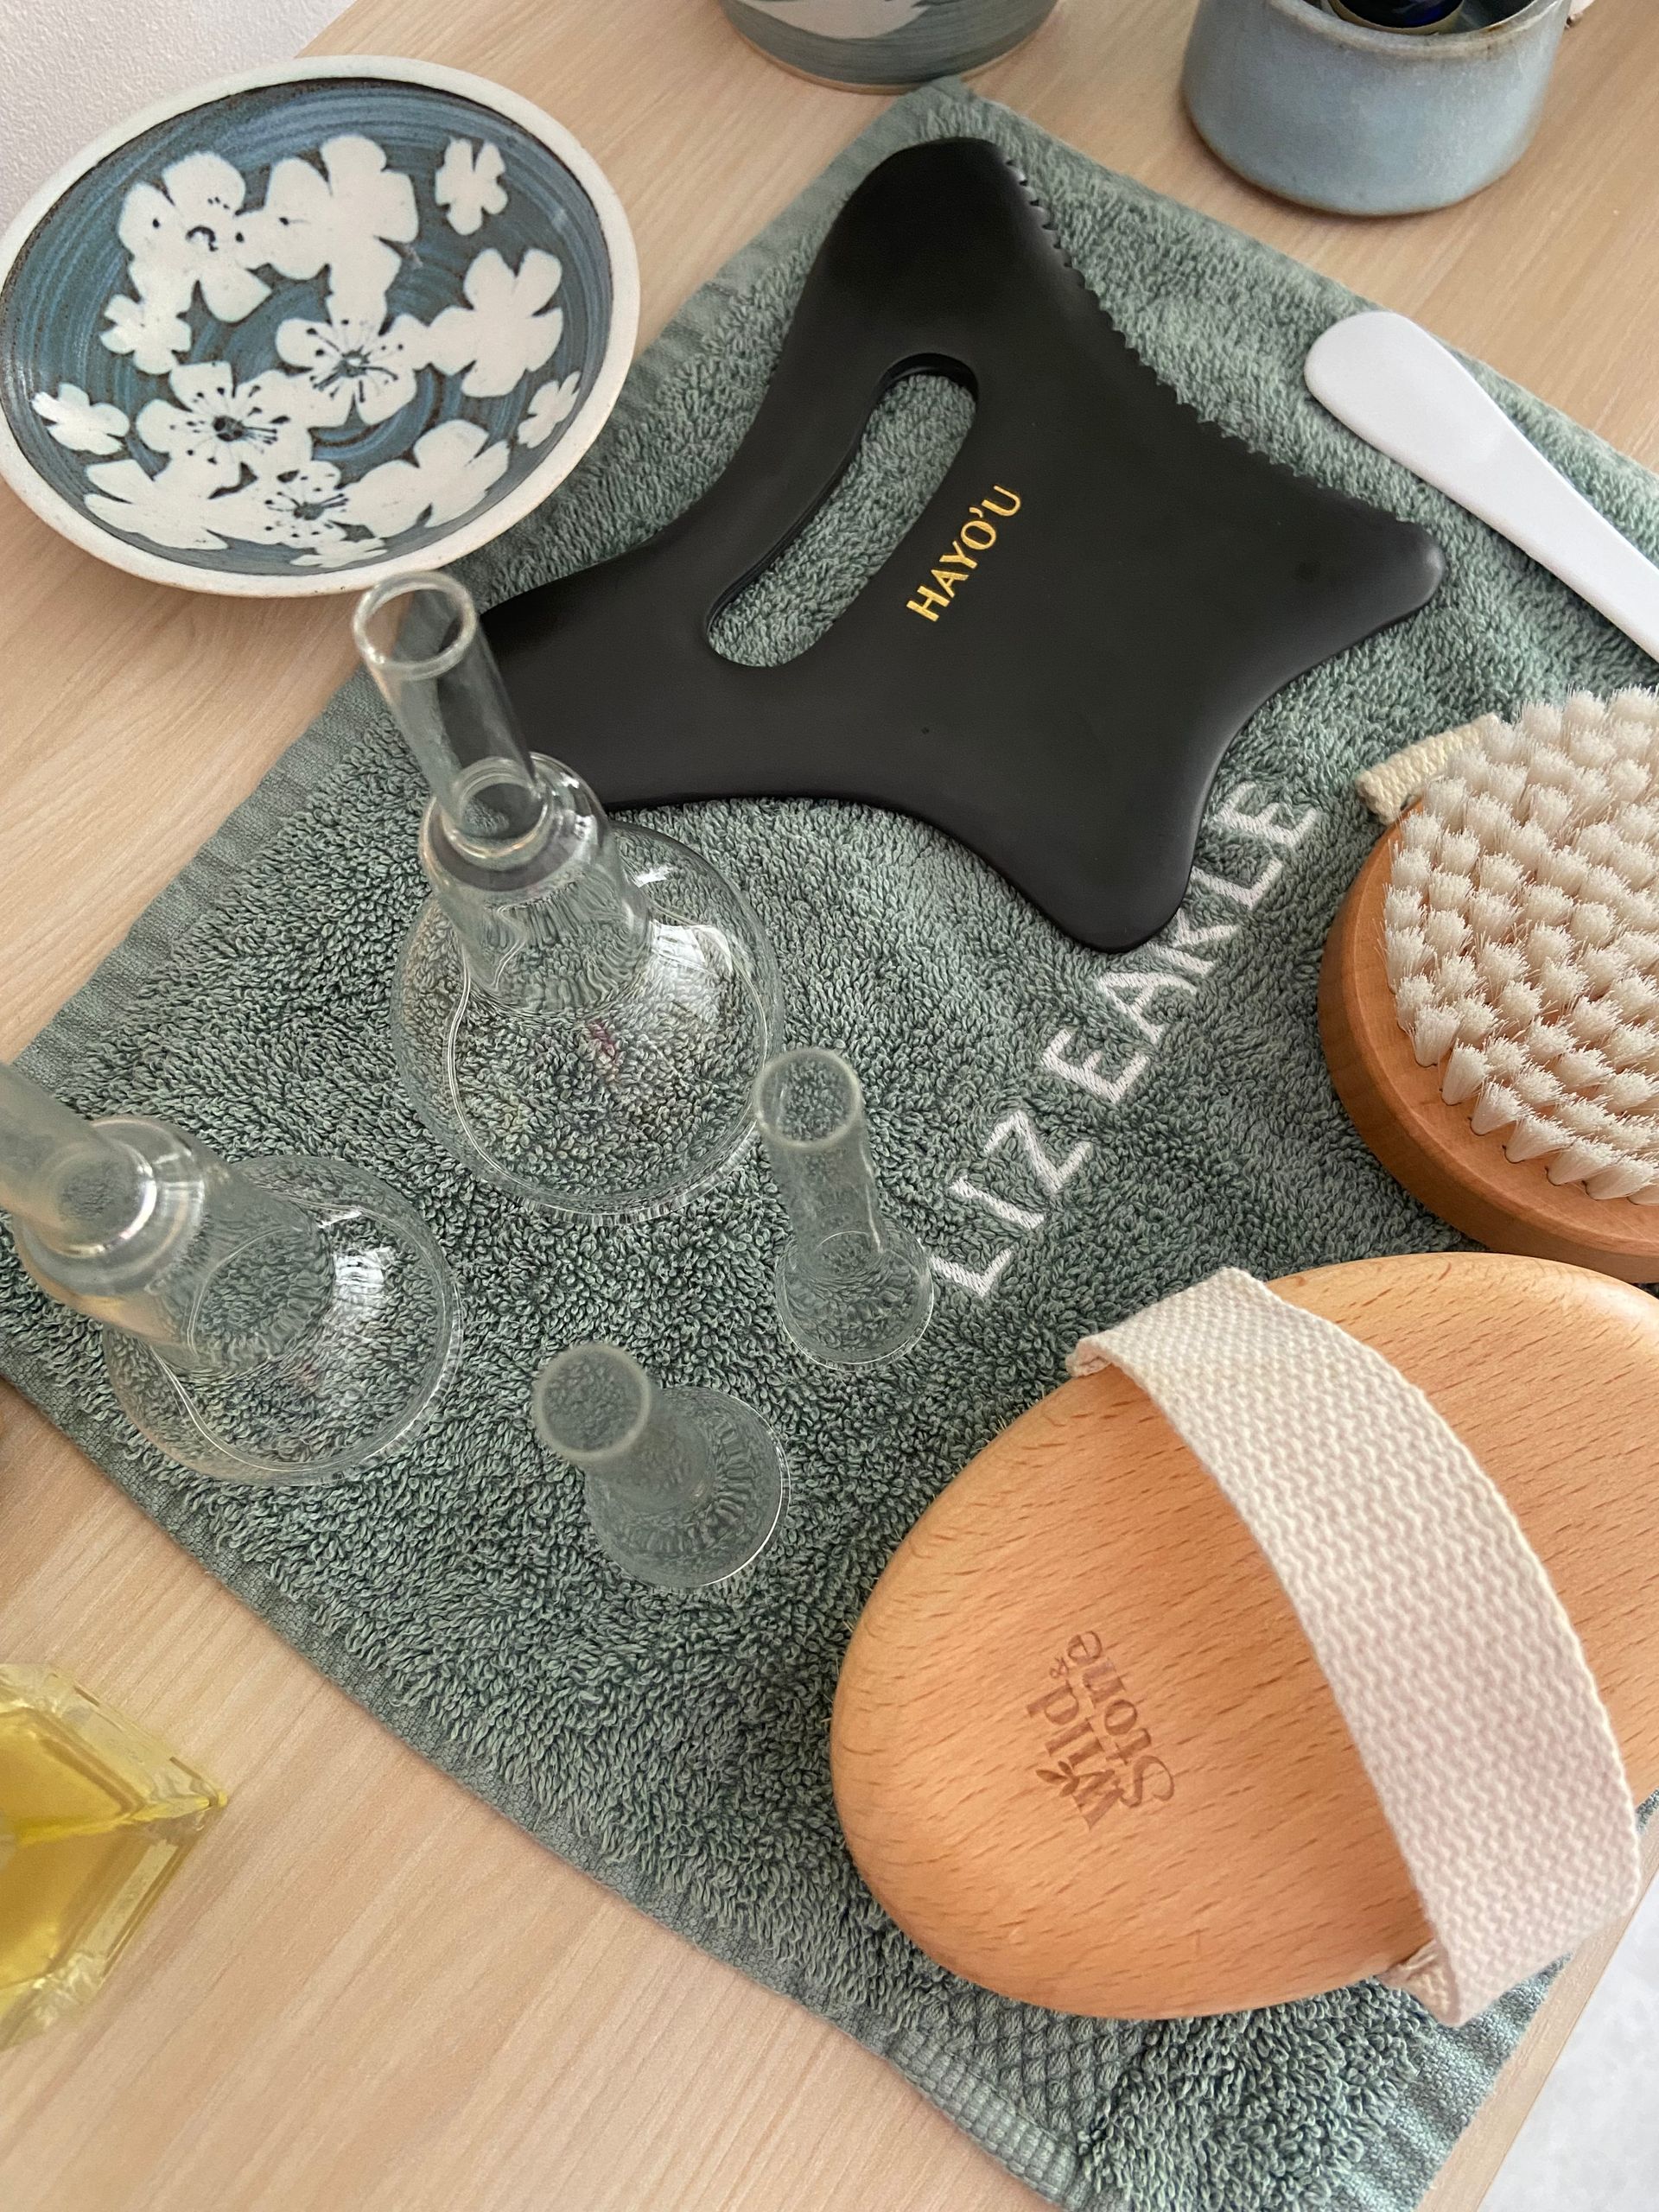
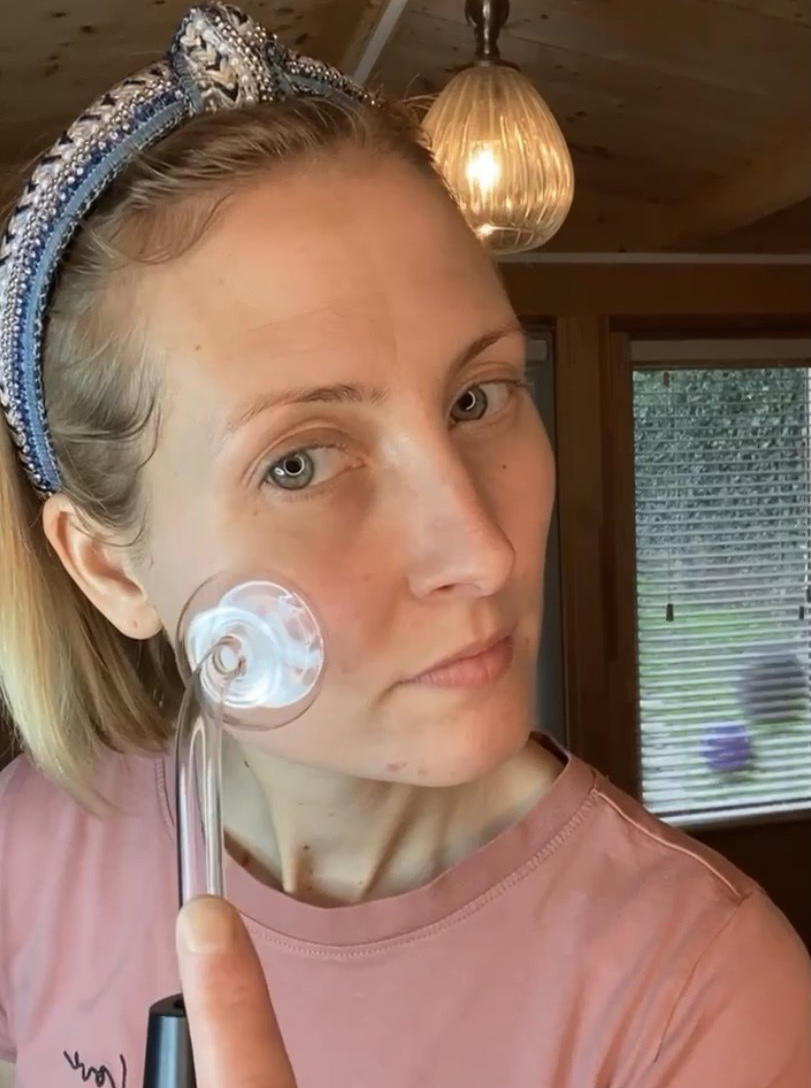
In treatment, at this stage, after a thorough cleansing and resurfacing treatment, I like to use Vaccum Suction (which is a super gentle, hoover-like device) as well as hands-on massage, both working specifically with the lymphatic system and flow. This helps to shift any stagnation within the skin and it’s surface, whilst encouraging the skin’s natural processes such as the clever mechanism of skin cell renewal. When these processes become sluggish, it can show up in the skin with characteristics like milia, blackheads, puffiness and uneven skin tone. By naturally connecting with the skin through the power of movement will help to generate a clearing effect overall so preventing future build up whilst softening the milia.
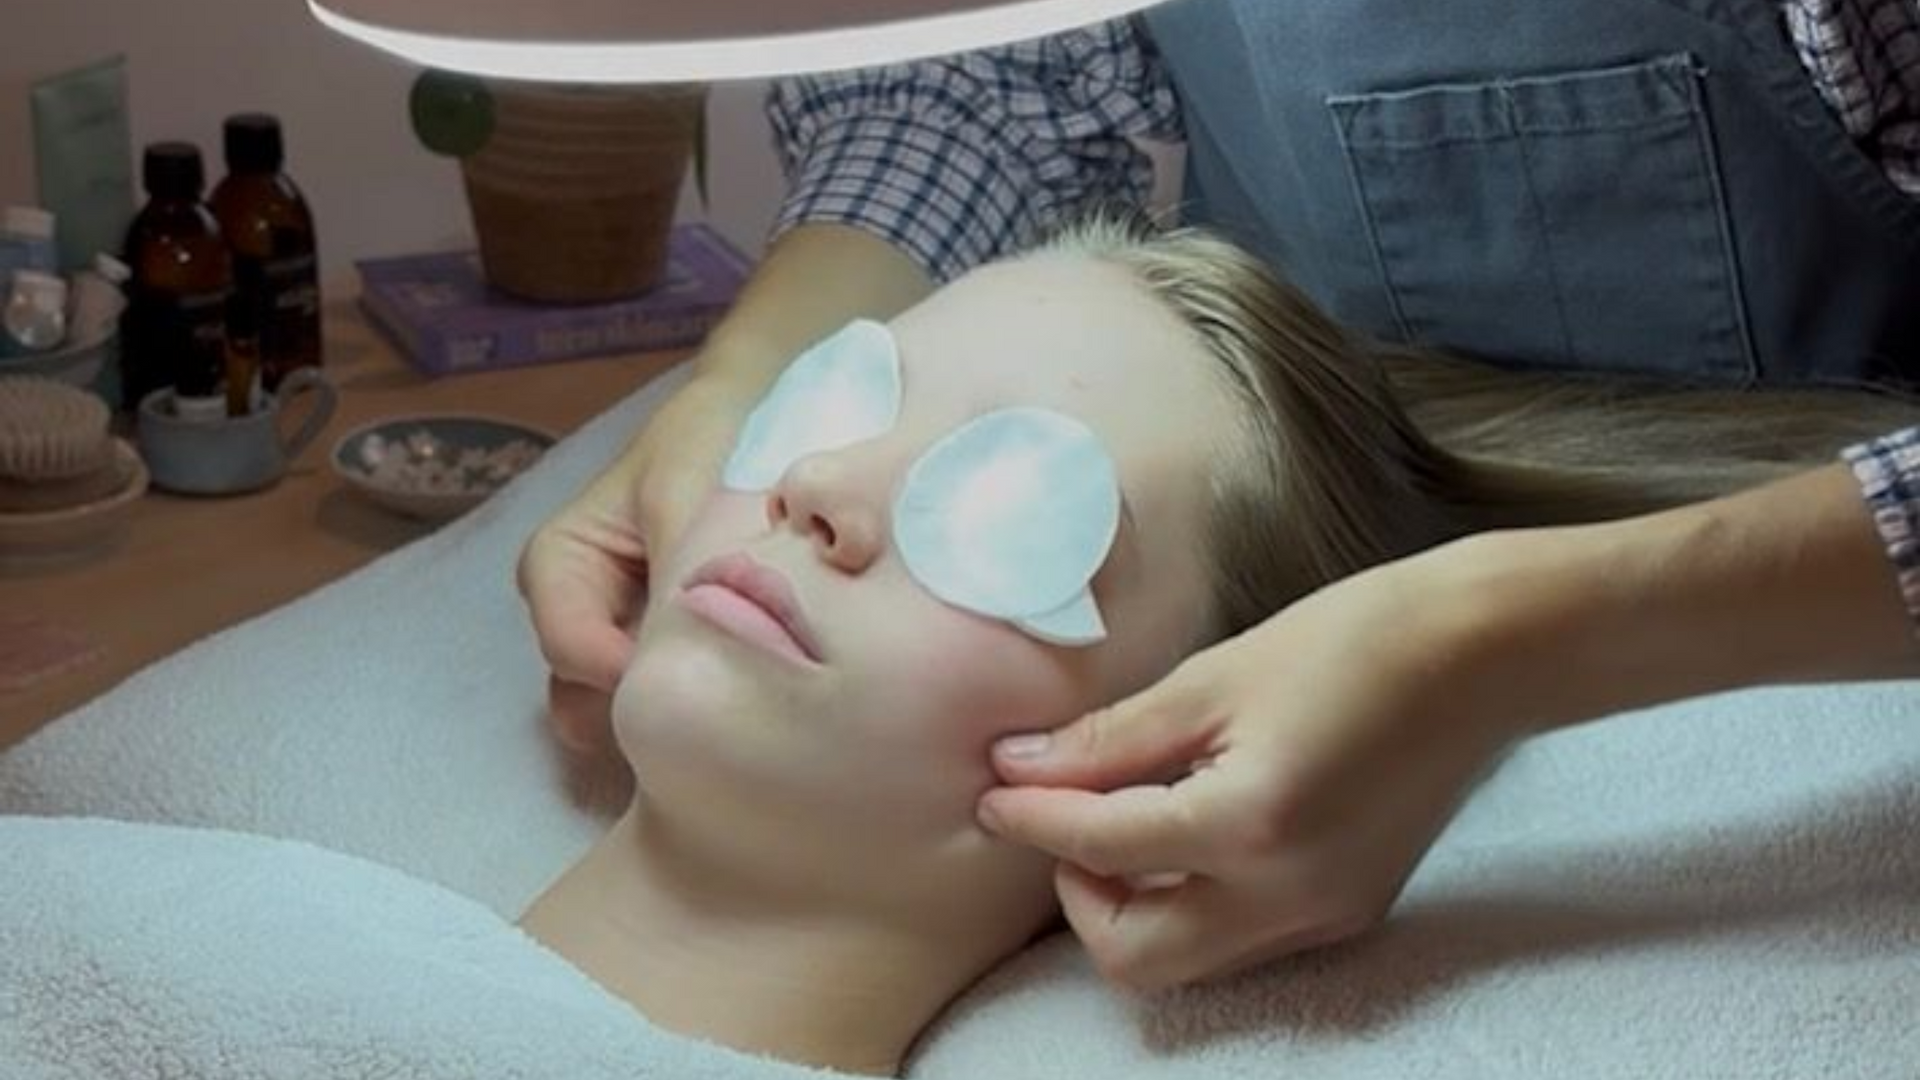
When incorporating plenty of massage, use your cleanser or a light plant oil as your massage medium-this will have a really good impact on softening the skin and milia too. Simple circular moves over the milia itself will generate heat, movement, and easing of the stubborn site. In treatment, I’ll then do a little facial steaming as the final prep before extracting the milia with a microlance and finish off using a small amount of anti-bacterial High Frequency. This prevents any bacteria forming where the extraction has occurred and helps the healing.
Lastly, I would opt for lighter serums/eye products/ moisturisers on the area where you’re getting the milia build up and lightly layering them. The skin has a very clever way of telling us when something is just too much and can definitely show up in the form of milia. The skin on the orbital bone area alone is so much thinner than anywhere else on the body-at approximately 0.5mm thick so less really can be more in preventing skin characteristics like this- It is all in the art of light layering of your skincare and gentle skin resurfacing with product and hands-on techniques.